


A few months ago, I wrote an article to show how to get Zsh in WSL on Windows 10. But I haven’t exactly shown how to make it the default shell. In facts, you can’t (not the “official” way anyway), because bash.exe in System32 folder is meant to call bash shell, not zsh. So no matter how you try to set zsh as the default shell through chsh -s $(which zsh), it doesn’t work if you still call to bash.exe everytime you use WSL.
Knowing this, the WSL team has made some changes. In the recent Windows 10 Insider builds for Windows 10 Fall Creator Update, there’s a wsl.exe file in System32 which performs two functions according to a member of the WSL team:
When run without arguments, it will launch your default user’s default shell (which is configurable via the chsh command).
When run with arguments, it is an easy way to run a specific Linux binary (wsl.exe ls).
So that means you can actually use the true default shell now if you call to wsl.exe instead of bash.exe. Here’re examples, Hyper Terminal and Visual Studio Code. First of all, you have to set zsh as the default shell, (obviously). Type this to the current WSL terminal you’re using (like “Bash on Ubuntu on Windows”)
chsh -s $(which zsh)
Now back to Hyper, edit the settings file where the shell and shellArgs options are like this:
shell: 'C:\\Windows\\System32\\wsl.exe',
shellArgs: [],
And voila!
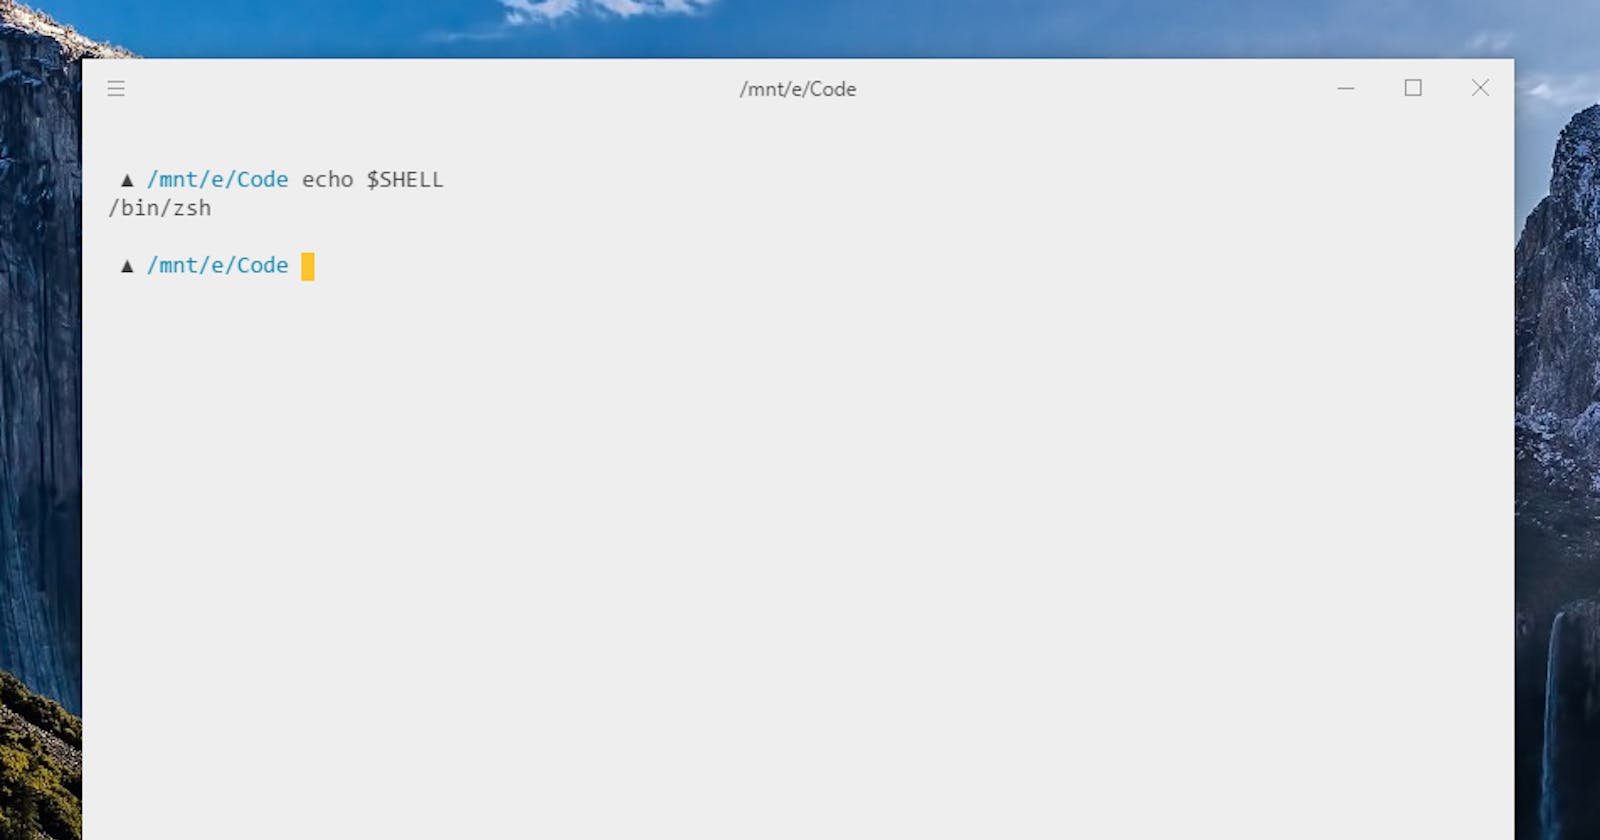
That’s Hyper, how about Visual Studio Code? It’s the same. Just change “bash.exe” to “wsl.exe” in the settings file
"terminal.integrated.shell.windows": "C:\\Windows\\sysnative\\wsl.exe"
There we go! Everything should work fine now.