


NOTES: If you are using Windows 10 Fall Creator Update, you probably won’t need this tutorial after all. Because in the Fall Creator Update, there is a right way to set up and use Zsh as default shell.
I set up WSL (Windows Subsystem for Linux) a long time ago but haven’t got time to mess around with it that much so I didn’t know that until Insider Build 15042, the Zsh shell didn’t work in WSL on Windows 10. But for now, if you’re in Insider Program, you can install Zsh shell and use it in WSL. You can also use Oh My Zsh to customize your Zsh shell, just like on Linux.
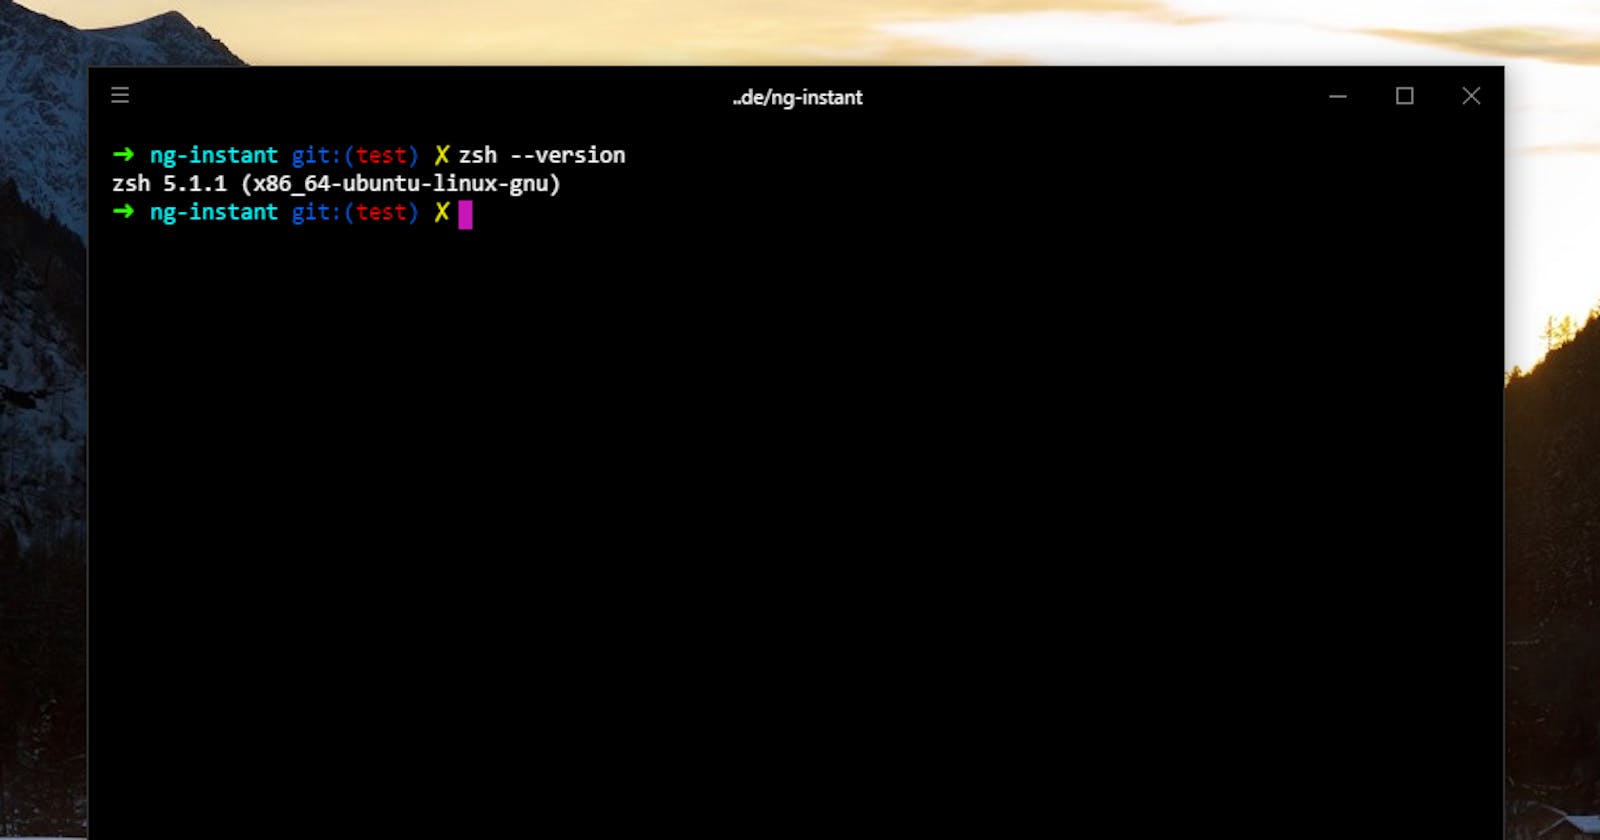
 Zsh on Hyper (terminal) on Windows 10
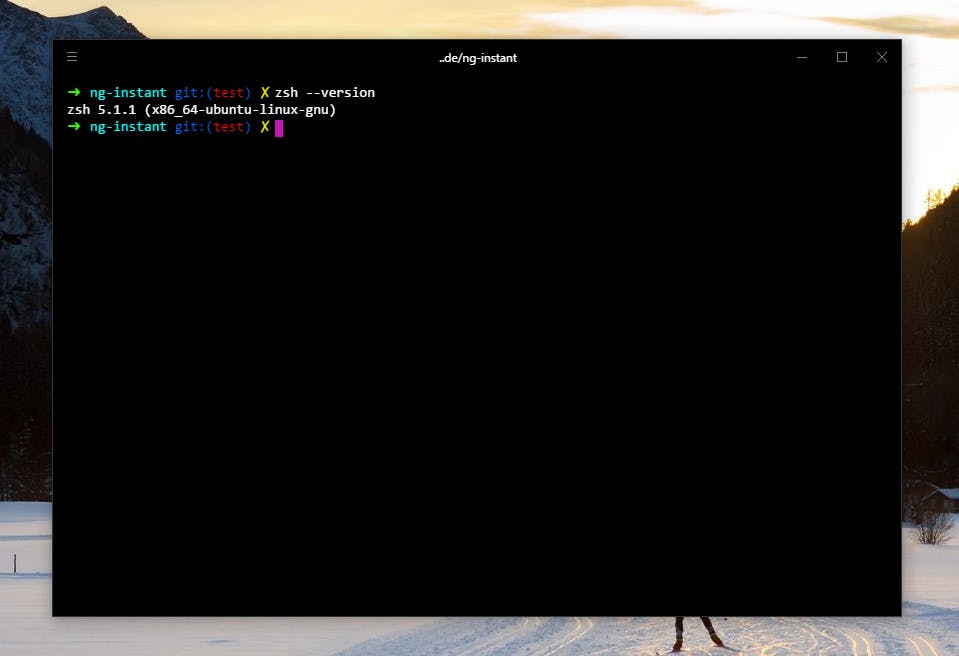
Bash on Windows
Of course, first of all, you will need WSL for Zsh, and WSL comes with “Bash on Windows.” But if you’ve already had Bash on Windows, you’re ready.
Install Zsh
You can install Zsh via apt-get command, just as you’d install any other software package on Ubuntu, so all you have to do is run the following command:
sudo apt-get install zsh
Type “y” when prompted and press Enter to continue.
Launch Zsh
To start Zsh, type “zsh” then press Enter. When you’re done, type “exit” and press Enter to back to Bash. You probably know all this already. But here’s the thing, how to make Zsh the default shell? On a typical Ubuntu system, there is a command to do this, but you see, it doesn’t work on WSL. So now you have to find a way to make Bash automatically switch to Zsh whenever you launch it.
The .bashrc file is the answer. Bash will run the commands in this file every time it starts, so you need to add some commands to start Zsh to this file. Open the .bashrc file with your favorite editor. This command here uses Nano:
nano .bashrc
Add the following lines to the file. You could simply add “exec zsh”, but the following lines will ensure that Bash only launches Zsh when you open a Bash window. This will avoid causing problems for other software.
if [ -t 1 ]; then
exec zsh
fi
After that, press Ctrl + X, press “y”, then Enter to save and exit Nano. To reverse the change, just remove those lines from .bashrc file.